Smart Scenes
Where you can find it
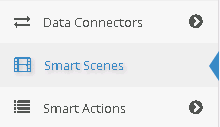
The Smart Scenes page is placed between the Data Connectors and Smart Actions items.
Usage
Smart Scenes represent a way to create your own scenes without any difficult, all you need to do is just specify your conditions and their following actions There are two big panels:
- The IF Condition one
- The Actions one
In the first you have to select your conditions that need to be met while in the second one you declare the actions to trigger on conditions met.
Examples:
- [My first Smart Scene][1]
- [Time Scheduler Scene][2]
- [Check Tag Scene][3]
- [Node Events Scene][4]
- [Gateways Condition Scene][5]
Condition Panel

A condition row is composed by:
- The Selected Object
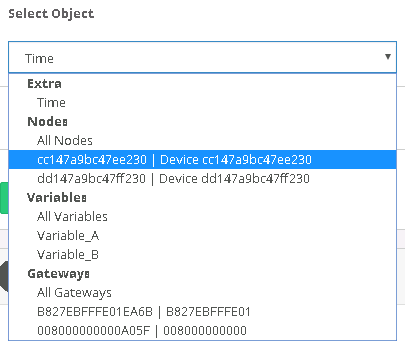
The Selected one will be the subject of our condition row. There are different types:
- Time (Time Scheduler)
- Nodes
- Variables
- Gateways
- Condition
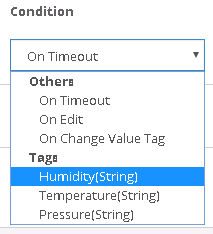
This obviously represent the Condition of the row. The image above shows an example and, as can be seen, one node's tag or one node's event may be choose.
3. Check (Only for tags)
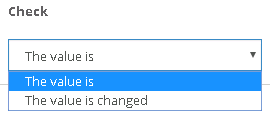
This select box specify the action of the condition in case a tag is selected
4. Value (Only for tags)

This field specify the value of the condition in case a tag is selected
Actions Panel

A action row is composed by:
- The Selected Object
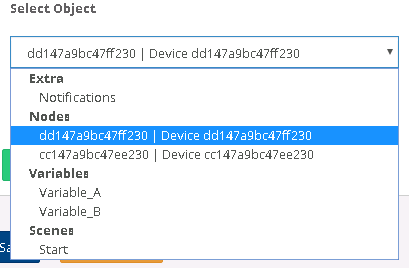
As the Condition Object, the selected one will be the subject of our action row. The types are different:
- Notification (Notification to Users)
- Nodes
- Variables
- Scenes
- Action/Command
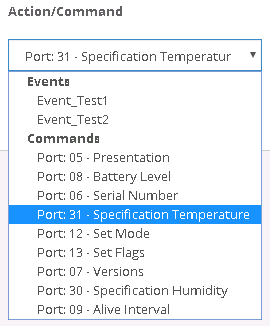
The Action to perform on condition met. It can be a node's command or a node's event. It can also be a variable's value change or the start of another scene.
3. Value (Only for variable)

Set the value of the selected variable.
Note
Actions rows must be valid wich means that the Action/Command column can't be empty.
Once you have completed all desired fields you are ready to start your own customized Smart Scene