Node Downlink
Where you can find it:
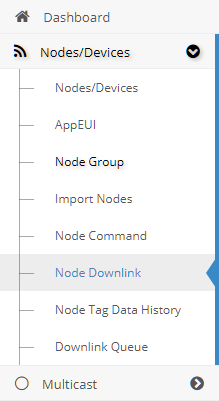
The Downlink item is simple to find: it is placed under the Nodes menu, on the left side.
Usage:
It is used to send Data to a node in a simple way. The input form is represented like this:
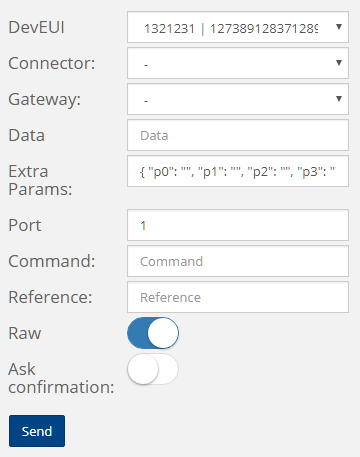
- DevEUI: The node to wich send data. The first field is the Node DevEUI, the second one is the Node AppEUI and the last one is the Node Name.
- Data: The data to send to the node.
- Port: The port used for the communication. (1 - 255)
- Command: This field need to be filled according to your websocket configuration.
- Connector: (Not required)The connector used for the comunication.
Extra Fields:
- Reference: When a Node recieve a message and notify us this value let us know to which message it refers.
- Extra Param JSON: This params are used for dynamic topics. For example if the server require to know the issuer, the "p0" will be "User": "Admin".
The output will be displayed on a table like the follow:
| DevEUI | AppEUI | Data | Connector | Command | Port | Date | Error |
|---|---|---|---|---|---|---|---|
| DevEUI | AppEUI | Data | Connector | Command | Port | Date | - |
| DevEUI | AppEUI | Data | Connector | Command | Port | Date | Error |
- The white lines represent a successfully sent Tx
- The red lines mean that the server failed to send a Tx to the node
Clicking on a single row will fill the input form with the data contained in the line.