Backup Management
What does it do
The backup management page allows you to manage the time when the software will carry out the backup that will save all important data.
On this page you can also perform the following actions:
- Make an instant backup and download the new file created directly on your computer;
- Choose who to send backup completion emails to;
- Choose whether to save a backup copy to an FTP server of your choice.
Where is it
In the menu on the left, search for "Admin".
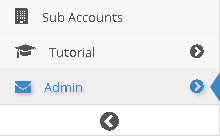
Now in the options shown on the screen, search for "Backup Manager".

Explanation fields of the page
Backup management page

This initial field briefly explains the page function and provides a button to access the backup history page.
Backup Now

This button allows you to perform an instant backup and download it to your computer, but no email will be sent to its completion and the new generated file will not be saved in any
FTP Server.
On the right side of the button there are three options:
- Include Log
This option allow you to include into the backup the history of all logs of the software.
- Include Communication Log
This option allow you to include into the backup the history of the messages received and sended to the nodes and gateways. (comm_rx, comm_tx, comm_gwalive, etc.)
- Include Node Tag Data History
This option allow you to include into the backup the history of the values of the various node tags.
These options will only affect the backup made by clicking the button on their left and will therefore not affect any other type of backup.
Keep in mind that these options, if selected, can significantly increase the weight of the backup file that will result, so think well before starting a backup with one or more of these
options selected.
Active Auto-Backup

This simple check is what decides whether to start scheduled backup or not.
Include Log/Communication Log/Node Tag Data History In Backup
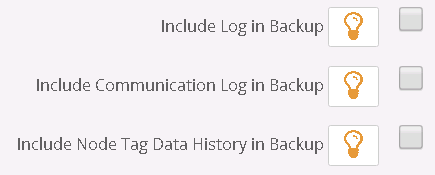
These three options work exactly like the ones that are present in the "Backup Now" field, the only difference being that these act on the scheduled backup.
Hour & Minutes

With these two fields you can decide at what time of day the backup will be performed.
Email

In this field you can decide the emails to which the backup completion message will be sent.
If you want to send the message to multiple emails, just divide them with a semicolon (example: email1; email2; email3), otherwise you can decide not to send any message, in this case an alert
message will be sent to the administrator of your organization for inform of the completion of the backup.
IMPORTANT: If an SMTP server has not been set previously, no email will be sent. You can find a guide on how to configure it on the
"Notification" page.
FTP Server

In this field you can choose which FTP server to save a copy of the backup file that will be created, otherwise you can leave the field empty, thus deciding not to use this function.
To create a FTP server you have two possibilities, you can do it directly from this page by selecting the option "===> INSERT NEW ITEM <===" from this field, then entering all the required
data, or you can do it from its page "FTP Server" in the "Settings" menu.
For more information check the FTP server page.
Email responses
At the end of the daily backup, if the "Email" field is full, ResIOT will send an email containing all the important data concerning the backup just done to all the
emails that had been specified in the previously mentioned field.
The received message will have the message subject formatted as follows:
ServiceName: If the admin account has the white label activated then its name will be used, otherwise the name "ResIOT" will be used.
OrganizationName: The name of the admin organization that has scheduled the backup.
OUTPUT: Summarize the backup result, it can have three values:
- "OK"
It all went well and the new backup is available for download.
- "TERMINATE WITH ERRORS"
The backup was successful, but there is something that went wrong. All errors will be written in the email sent.
- "ERROR"
The backup has failed and the cause of this failure will be specified in the email.
Example of Emails
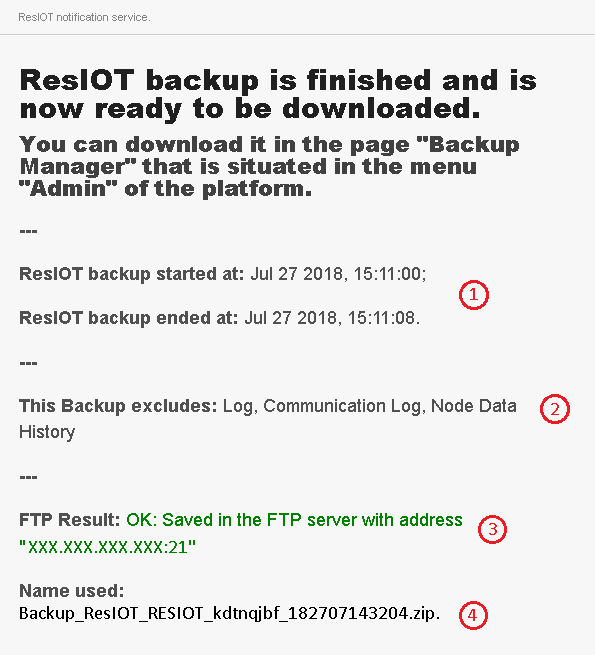
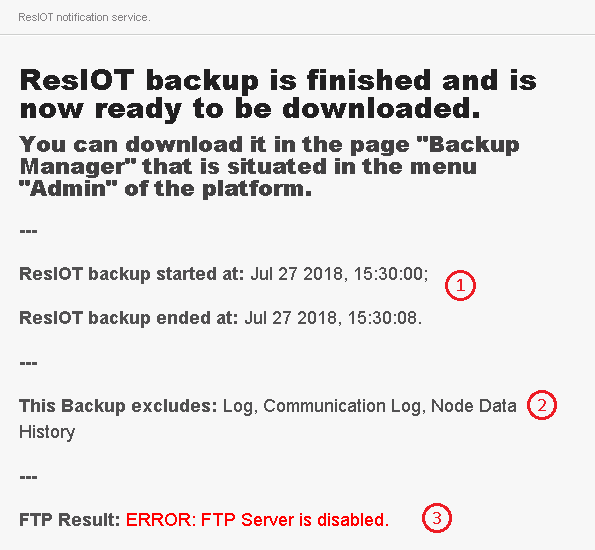
OK
When everything has been successful, the email will contain the start and end dates of the backup (1), the extra data contained in the backup (2), result of the copy in the FTP server with the address of the FTP (3), Name of the file saved in the FTP server and the directory of the file in case it is not in the home directory (4).
TERMINATE WITH ERRORS
In the event of an error, the start and end dates of the backup (1) will always be shown, with the extra data contained in the backup (2), while the errors that occurred during this backup will be indicated below (3).
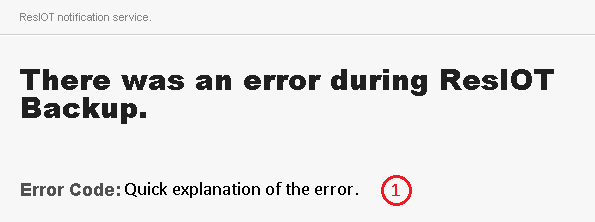
ERROR
However, when the backup operation fails, the reason for the error (1) will be shown in the email.
Alert Message
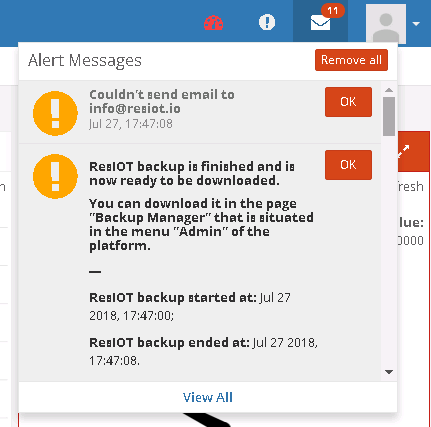
As previously explained in the "Email" field, in case emails are not sent or that the field is left empty, an Alert message will be sent to the administrator to report the result of the backup and inform that, in case, the emails are not you are sent for some problems.
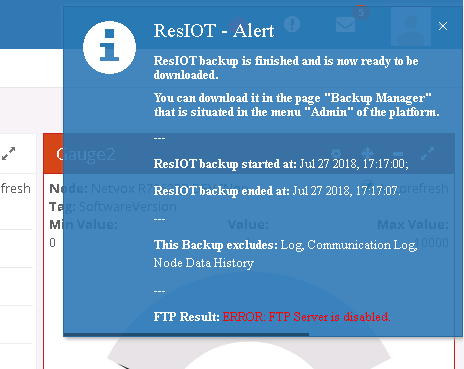
Normal Alert
In case the "Email" field is empty, instead of a normal email, an Alert message is sent to the administrator containing the same data as a normal email.
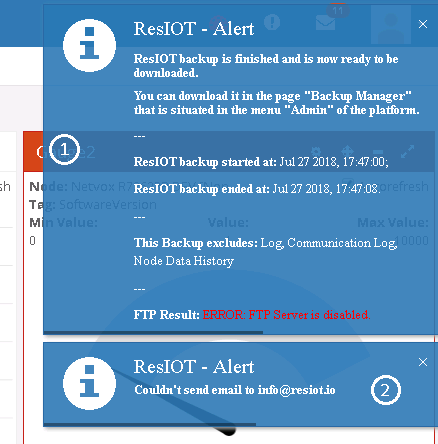
Alert From Email Error
If the "Email" field is full but no email is sent, then in its place is sent an Alert message like the one sent in the "Normal Alert"(1) section along with another message that specifies which email was not possible to send the message(2).
Where are they stored
Since the Alert messages remain on the screen for a few seconds, they can very easily not be seen, so they are saved inside the message icon in the upper right corner, so you can be consulted whenever you want.
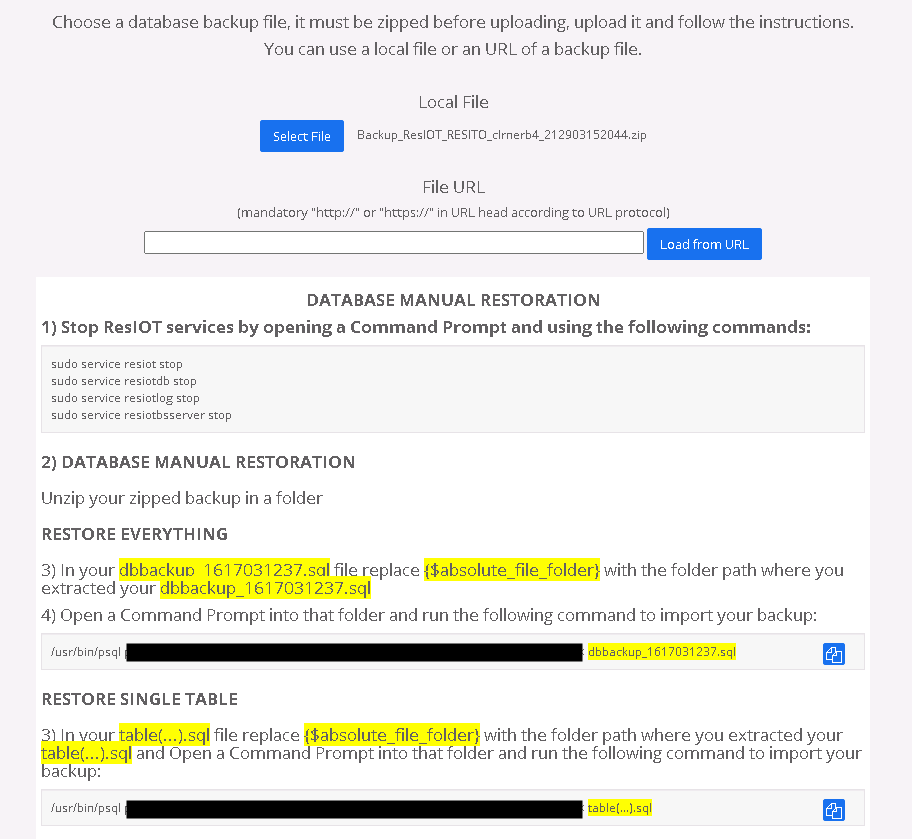
Restore Backup
Once you have your backup file, you can use it by going to Admin -> Restore Backup -> Manual Backup. This page is also available on a new configuration by clicking on Restore Backup in the login page. In this page you can use your local file or an URL. If the uploaded file is compatible with the restore page, you will see the instructions to follow to procede with the backup restore.